Fix Sticking Glass Closet Doors Safely
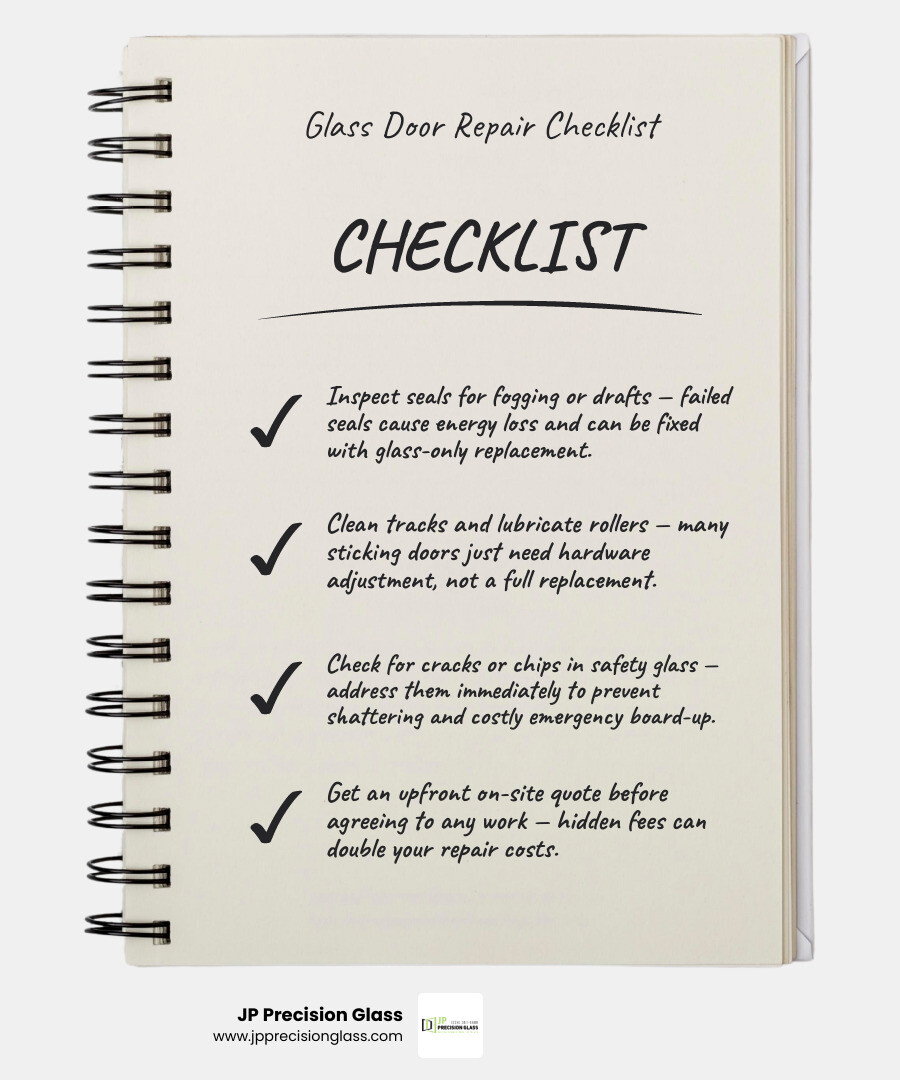
For most glass closet door repair problems, start by cleaning the track, tightening loose screws, and checking whether the rollers are worn or out of alignment. If the mirror is cracked, the frame is separating, or the glass is loose, stop using the door until it is secured or professionally assessed.
Common causes include:
- Dust, pet hair, and grime packed into the track
- Worn rollers that grind, wobble, or jump the rail
- Loose frame screws or a shifted rubber gasket
- Bent tracks that force the door out of alignment
- Cracked or shattered mirror panels
Sliding mirror doors save floor space, reflect natural light, and can make a smaller room feel much larger. But because mirror panels are heavy and fragile, use cut-resistant gloves and eye protection before removing a door or handling damaged glass.
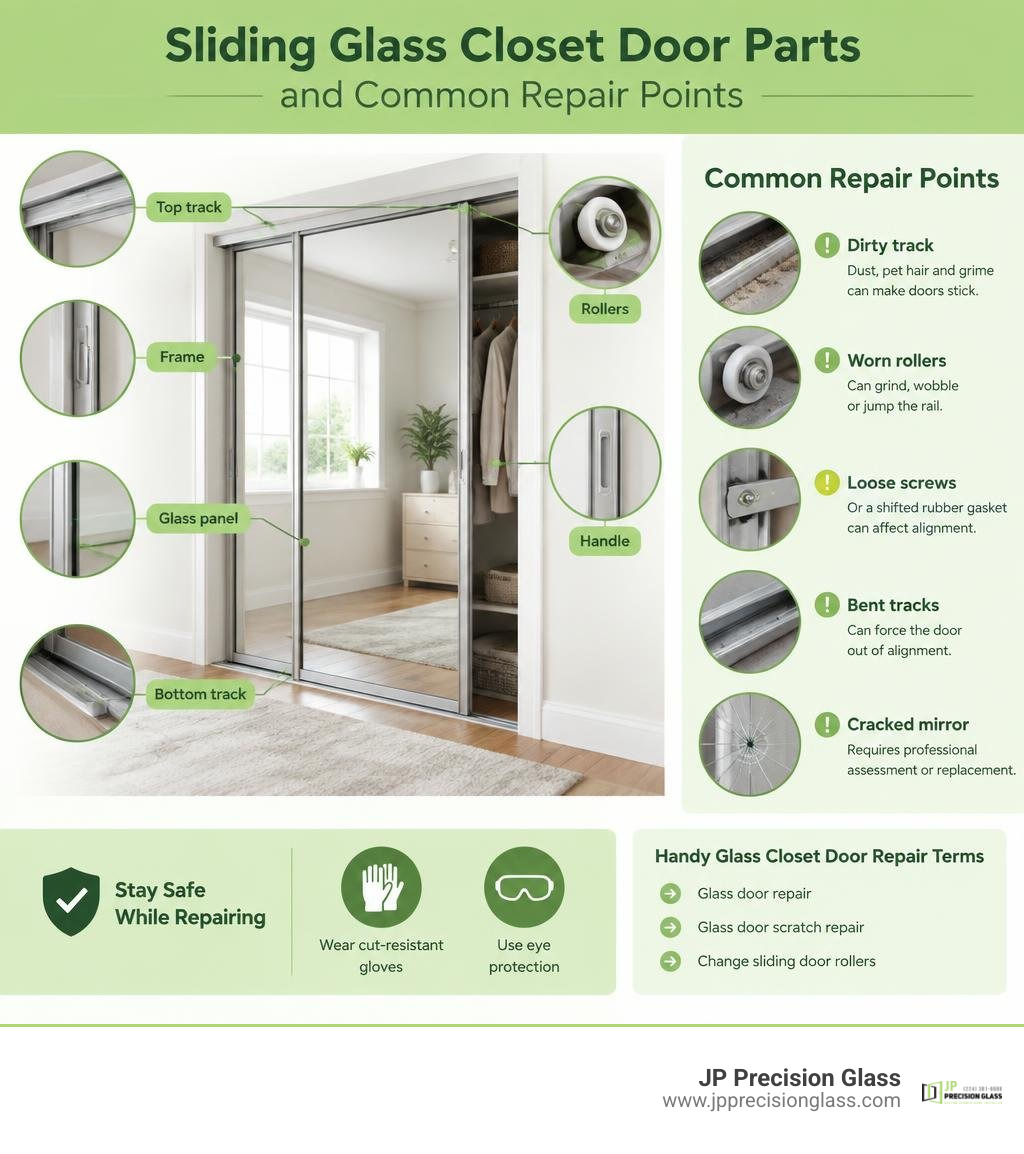
Handy glass closet door repair terms:
Diagnosing Common Sliding Glass Closet Door Issues
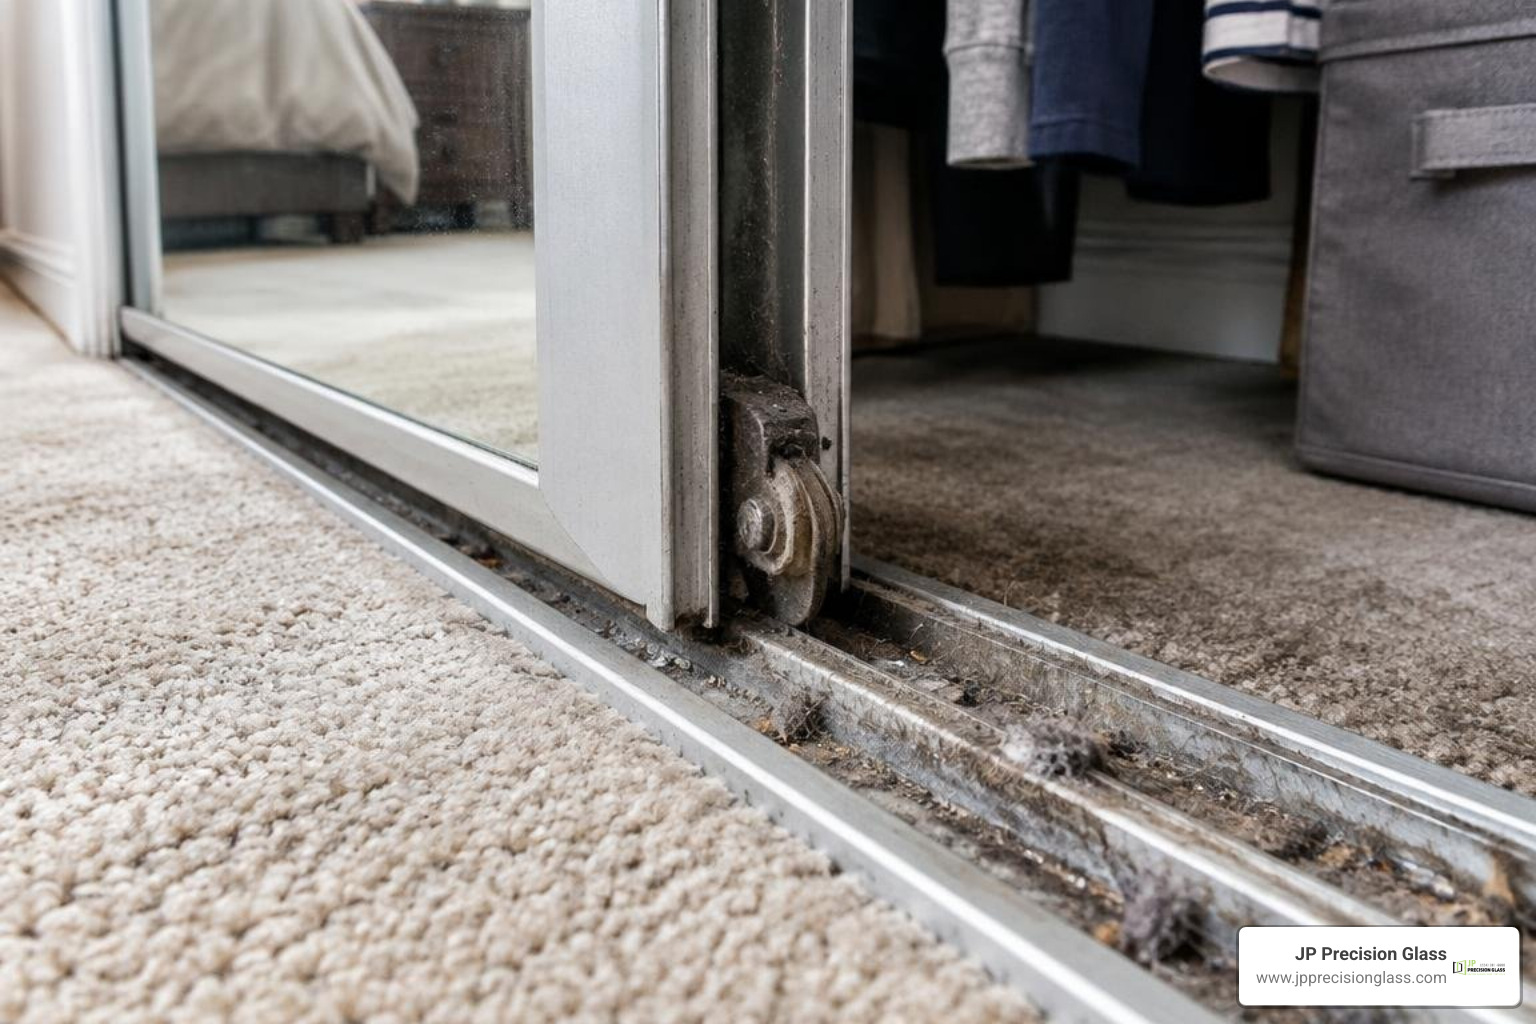
When a sliding mirrored wardrobe door stops gliding effortlessly across the room, it can turn your morning routine into a workout. Before diving into tools and replacement parts, we need to pinpoint exactly what is causing the mechanical failure. Because glass panels carry significant weight, any issue with hardware or tracks places physical stress directly onto the glass itself.
Identifying these issues early protects your door from irreversible track warping or sudden glass breakage. While you might be familiar with repairing bent aluminum tracks on exterior patio sliders, interior closet systems have their own unique structural quirks that require careful diagnosis.
Dirty, Dented, or Misaligned Tracks
The bottom track of a sliding closet system acts as a natural dust trap. Over months and years, loose carpet fibers, pet hair, dirt, and stray items settle directly into the channels. When combined with old lubricant, this debris forms a sticky, abrasive sludge that jams the wheels.
Beyond simple dirt, tracks frequently suffer physical trauma:
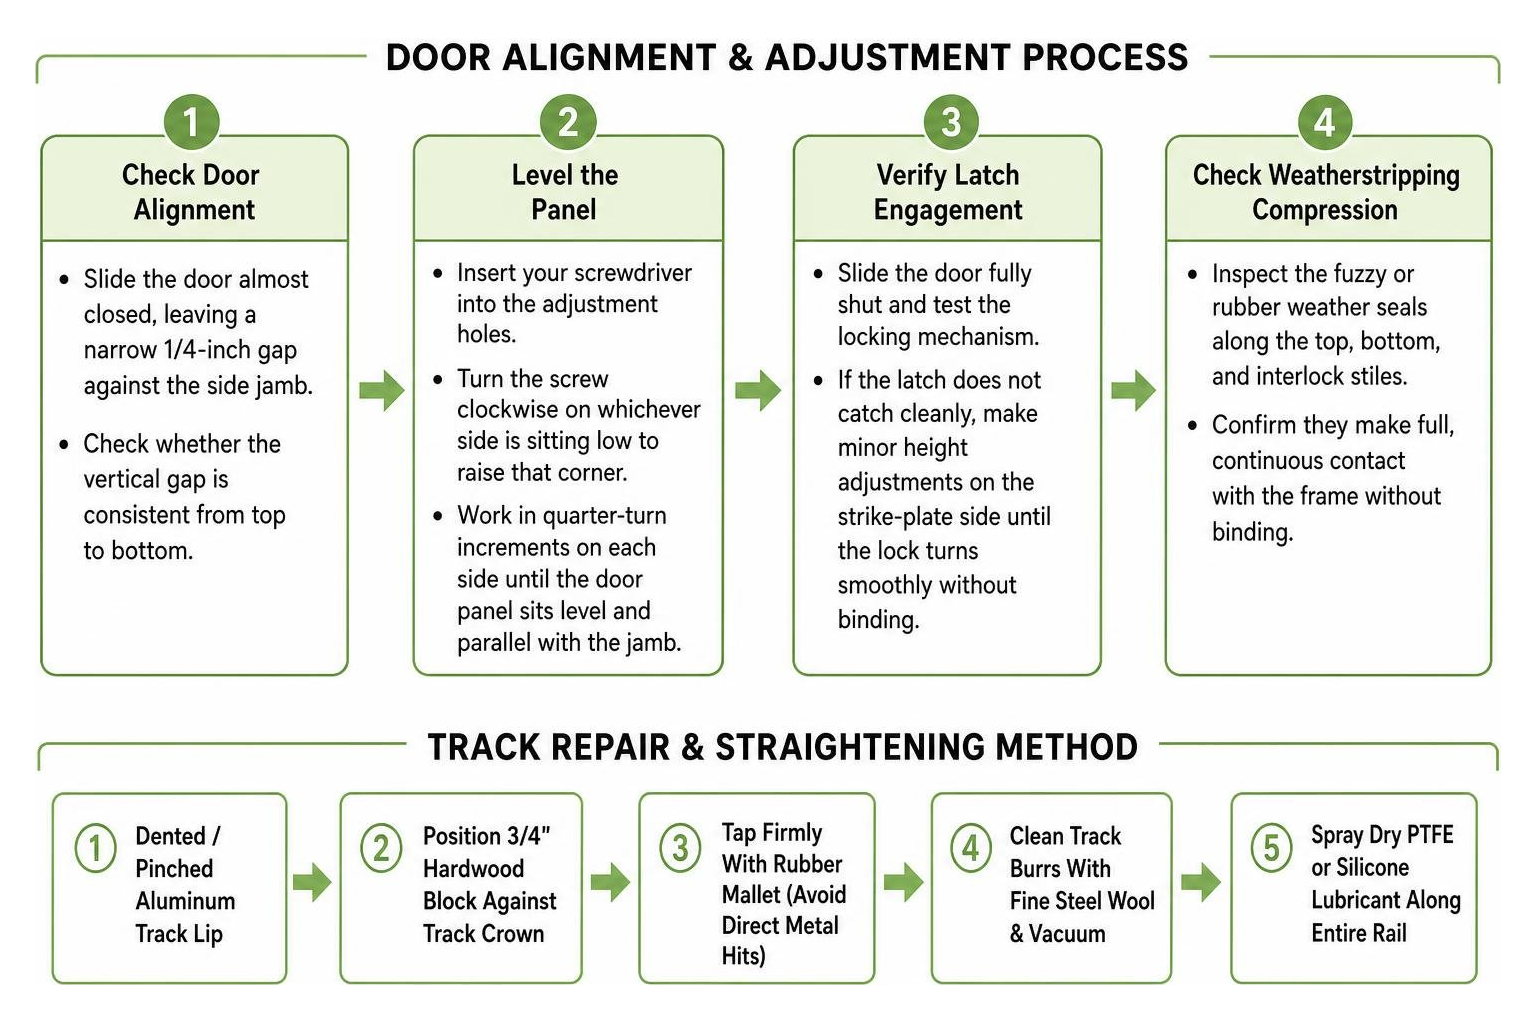
- Dented rails: Stepping on the bottom track or dropping heavy storage bins can crush aluminum channels, creating pinch points that derail rollers.
- Track misalignment: If the fastening screws loosen along the floor or header, the track shifts out of parallel. This forces the door panels to bind against each other or scrape the frame.
- Uneven mounting surfaces: Settling floors can create low spots where rollers bottom out, leaving the top guide disconnected from the ceiling channel.
Worn-Out Rollers, Springs, and Hardware
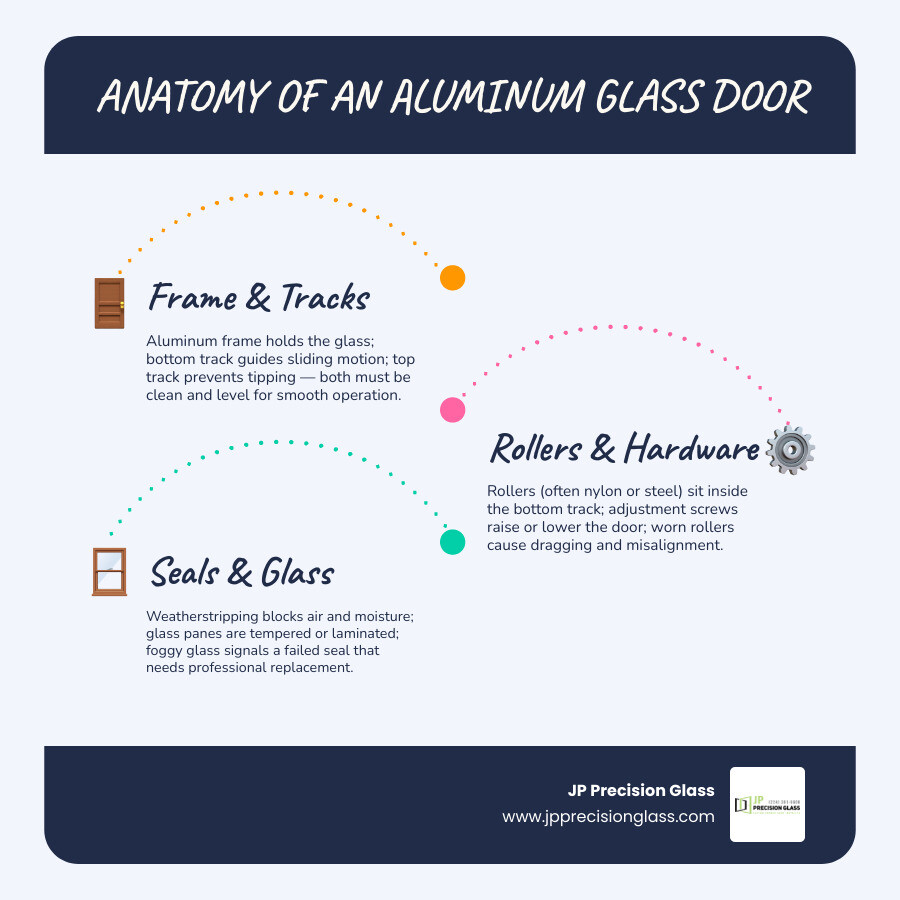
Sliding glass door hardware does not last forever. The internal wheels are typically molded from nylon or steel, mounted onto ball bearings or axle pins that endure constant friction. Over time, nylon wheels develop flat spots, crack, or split entirely.
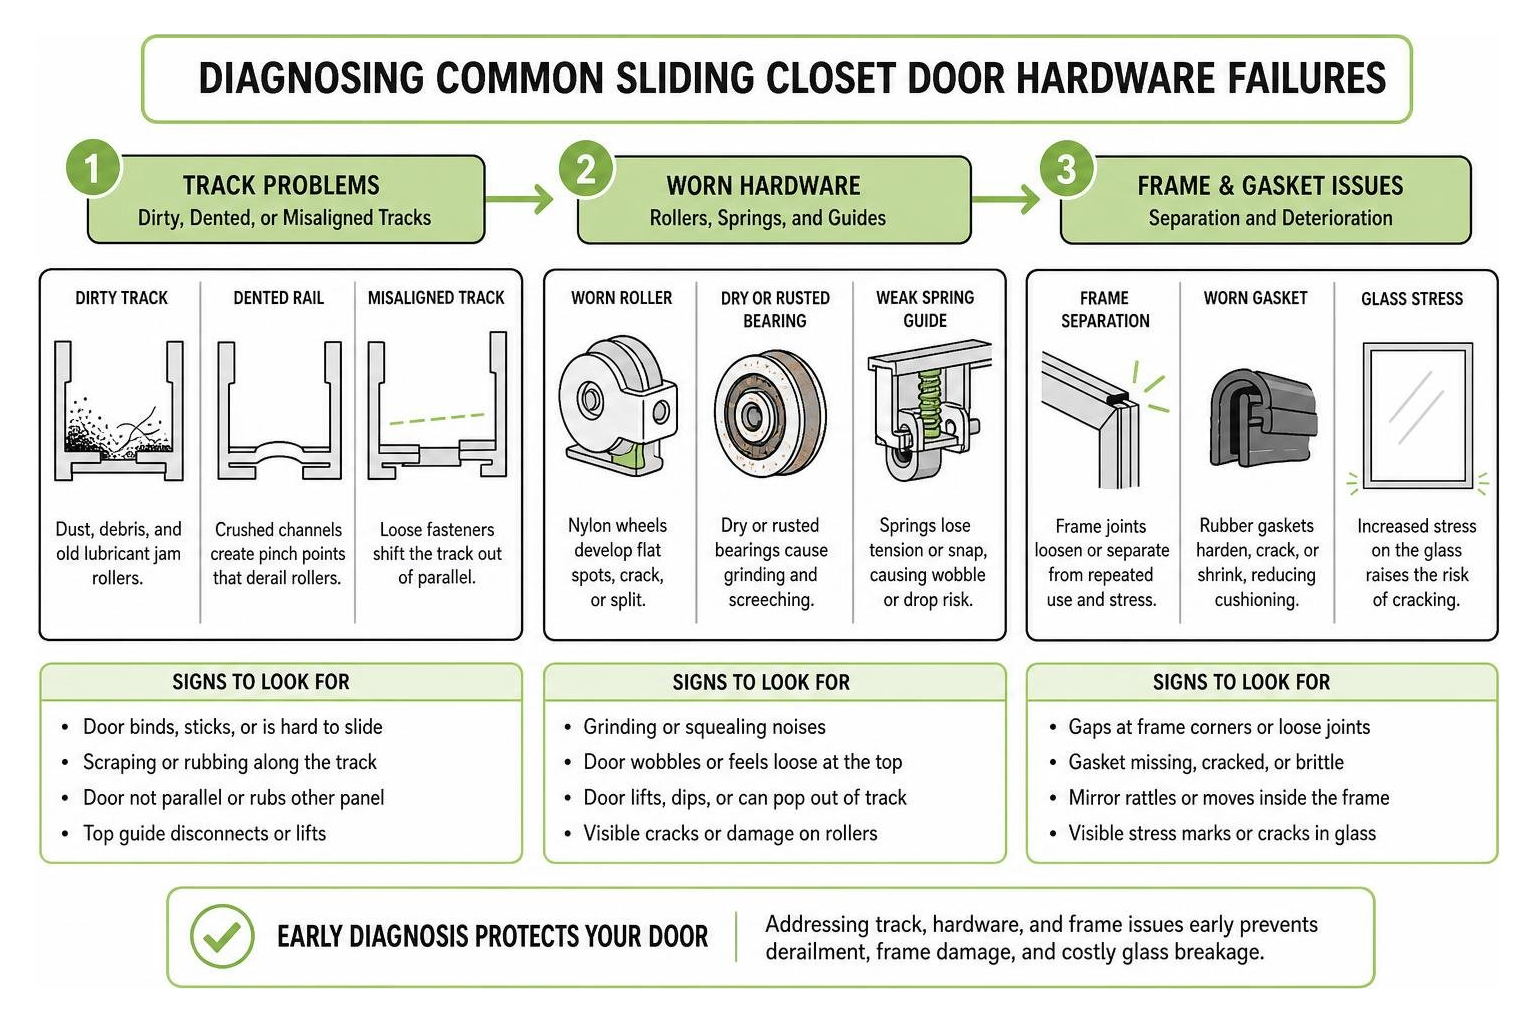
When internal bearings dry out or rust, they produce an unmistakable grinding screech. Furthermore, many modern top-hung systems rely on spring-loaded tension guides. If these springs lose tension or snap, the door will wobble uncontrollably within the header channel, threatening to drop out of the frame. Inspecting and replacing sliding door rollers restores alignment before the door derails and cracks the mirror.
Frame Separation and Deteriorating Gaskets
Mirrored closet doors typically consist of a large mirror panel surrounded by an aluminum perimeter frame, cushioned by an internal U-channel rubber gasket. As the door is pulled and pushed over thousands of cycles, the physical pull force concentrates on the frame stile rather than the glass.
Over time, this dynamic causes:
- Gasket retraction: The rubber gasket dries out, shrinks, and creeps backward into the aluminum profile cavity, leaving the glass unanchored.
- Loose corner assemblies: Corner joinery screws vibrate loose, causing the aluminum frame to splay outward away from the glass.
- Glass slippage: Without tight gasket tension, the mirror panel slides down inside the metal frame, dragging against the floor track and creating extreme stress along the bottom glass edge.
Step-by-Step Glass Closet Door Repair for Smooth Sliding
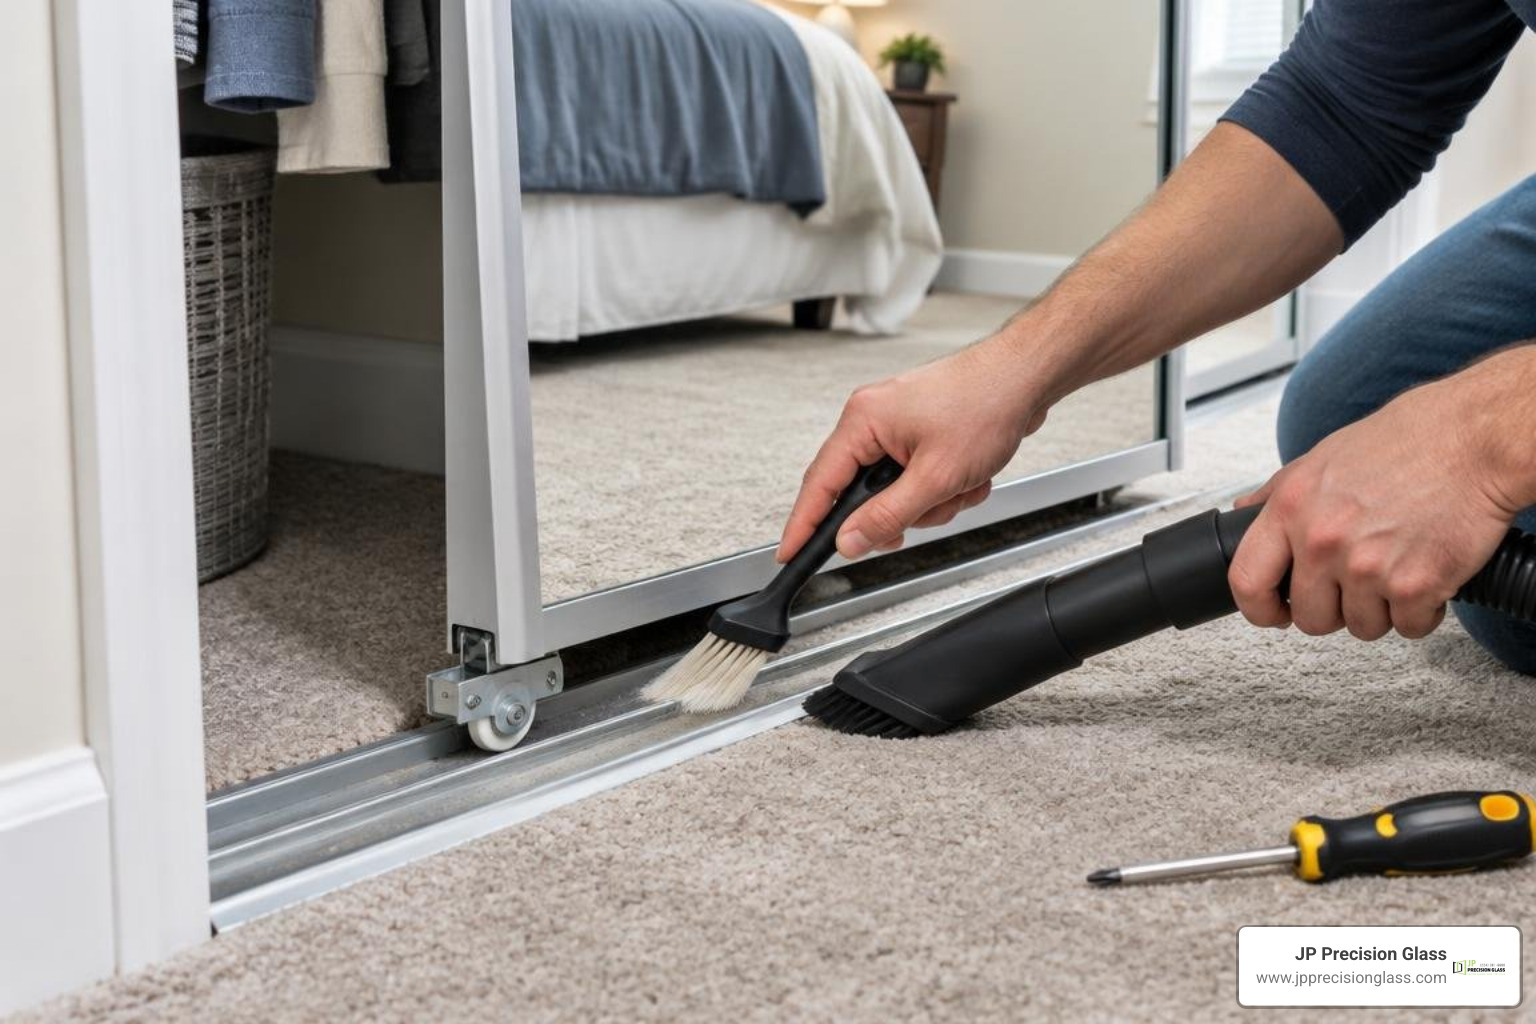
Fixing a stubborn sliding mirror door is entirely manageable when you follow a methodical sequence. Glass handling demands patience, controlled movements, and a clean, padded workstation. Never rush the physical removal or reinstallation of large mirrored panels.
Essential Tools and Materials for Glass Closet Door Repair
Before starting your repair, set up your work area. Clear a wide floor space and lay down thick moving blankets or drop cloths to support the glass panel safely.
Gather the following tools and supplies:
- PPE: ANSI-rated safety glasses and cut-resistant work gloves.
- Screwdrivers: #2 Phillips head and flat-head screwdrivers for roller adjustment and frame assembly.
- Cleaning supplies: White vinegar, liquid dish soap, a spray bottle, microfiber cloths, and a stiff nylon scrub brush.
- Track adjustments: A rubber mallet and a wooden scrap block for reshaping bent metal rails.
- Chemicals: Dry PTFE lubricant spray (avoid greasy petroleum-based oils) and specialized pH-neutral mirror mastic.
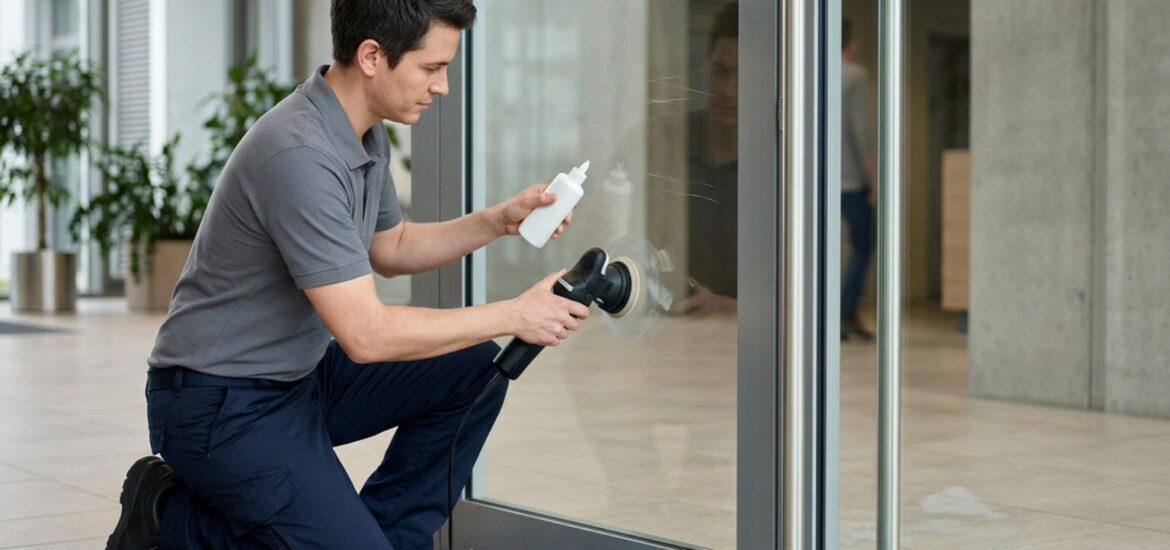
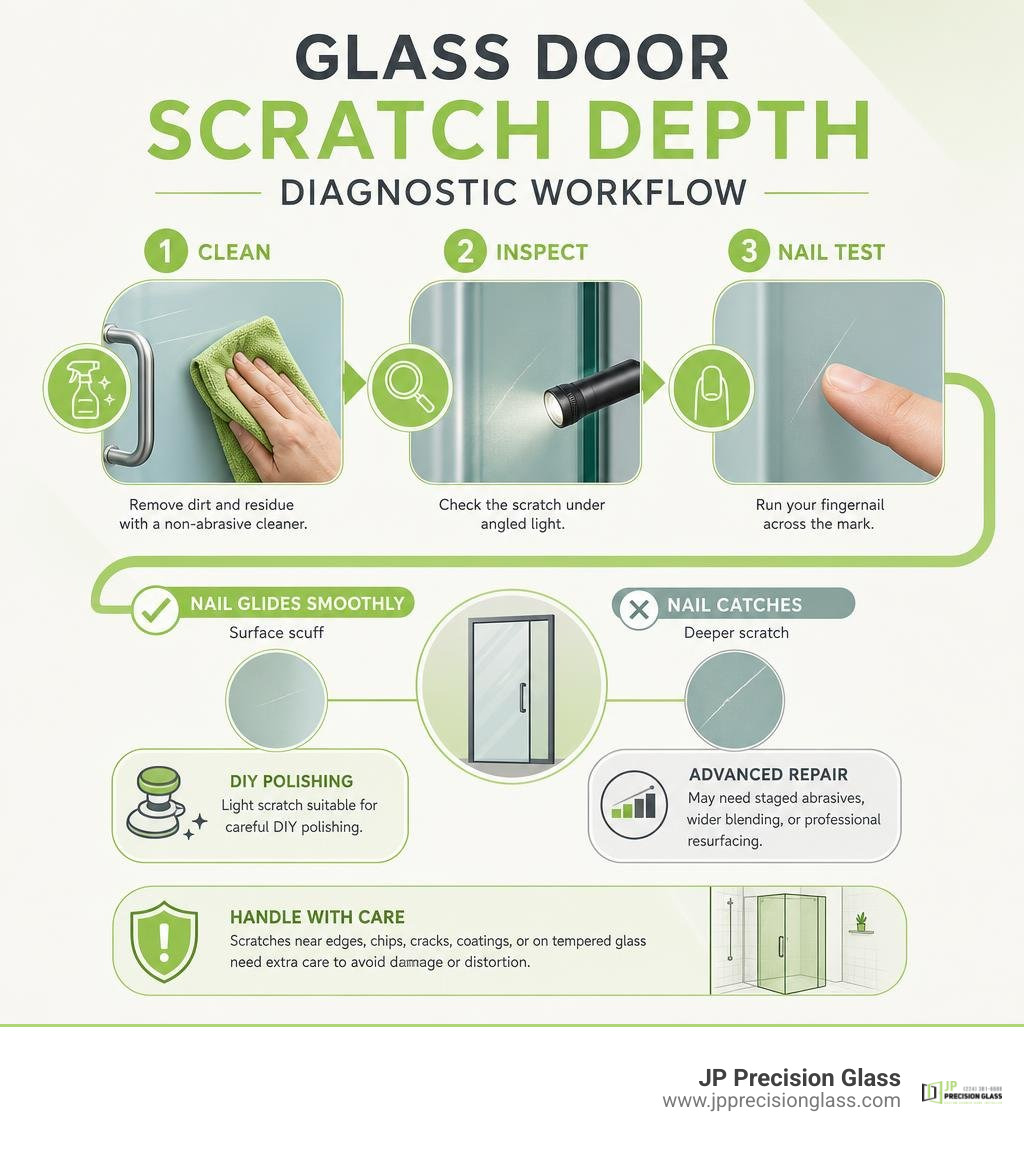
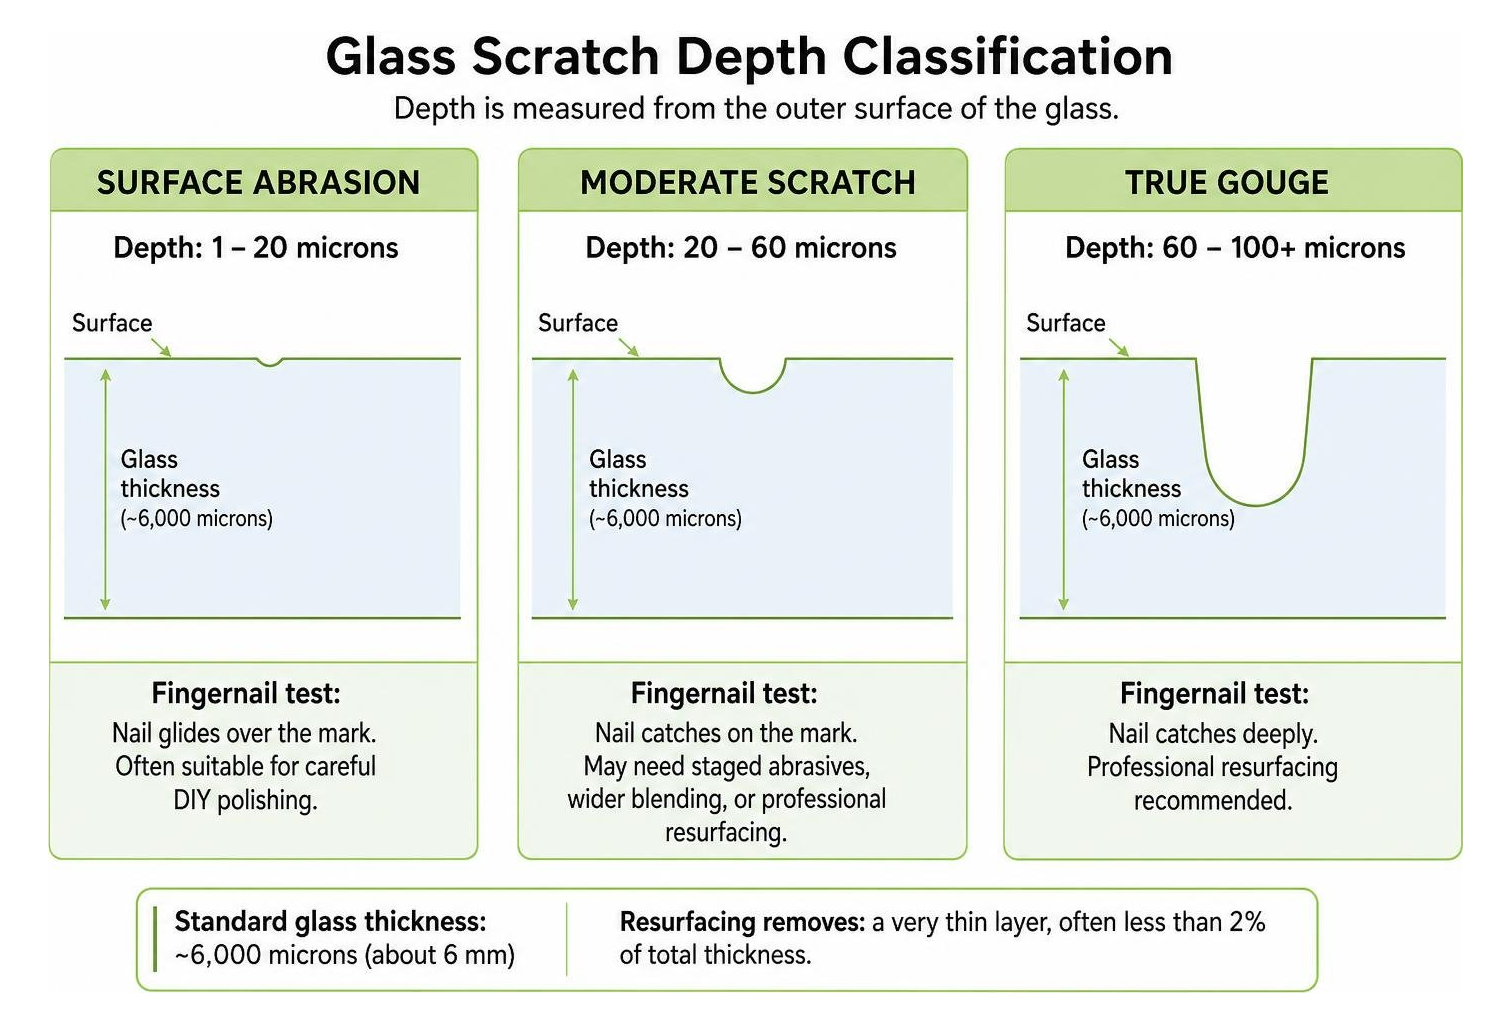
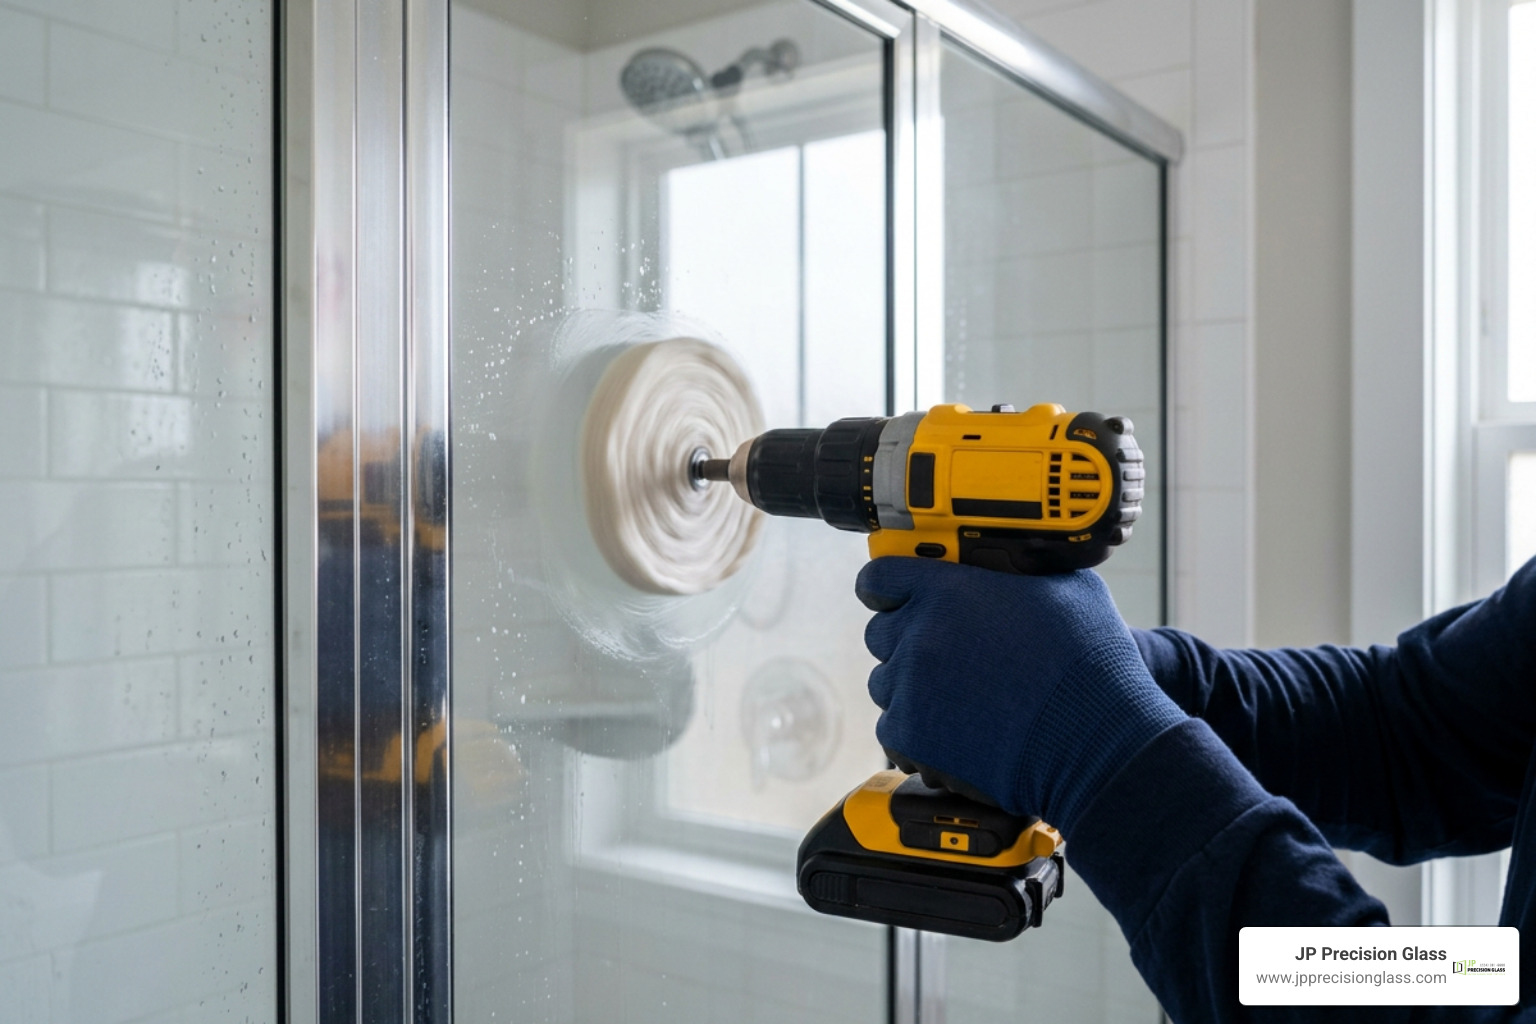
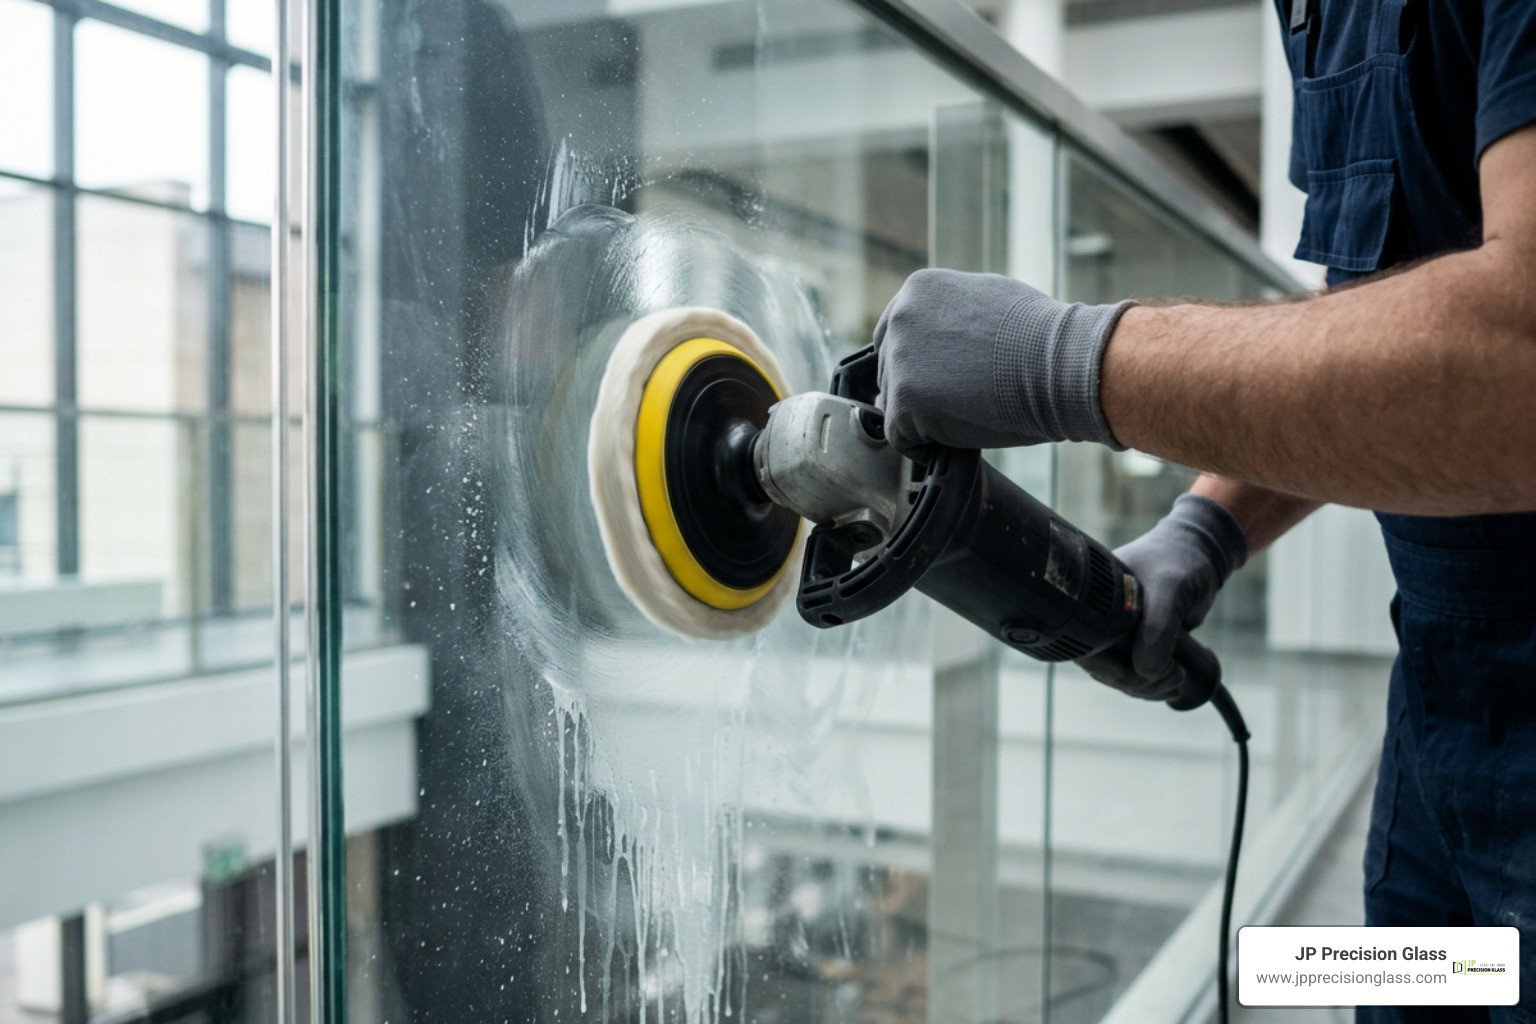
- Glass surface care: A glass cleaning squeegee, plastic putty knife, and specialized compounds for buffing surface glass scratches.
Cleaning and Lubricating the Track System
Never spray wet oils like standard WD-40 into your tracks. Wet lubricants act as a magnet for dust and pet hair, rapidly transforming into a thick abrasive paste that destroys roller bearings. Instead, rely on deep cleaning and dry friction reducers.
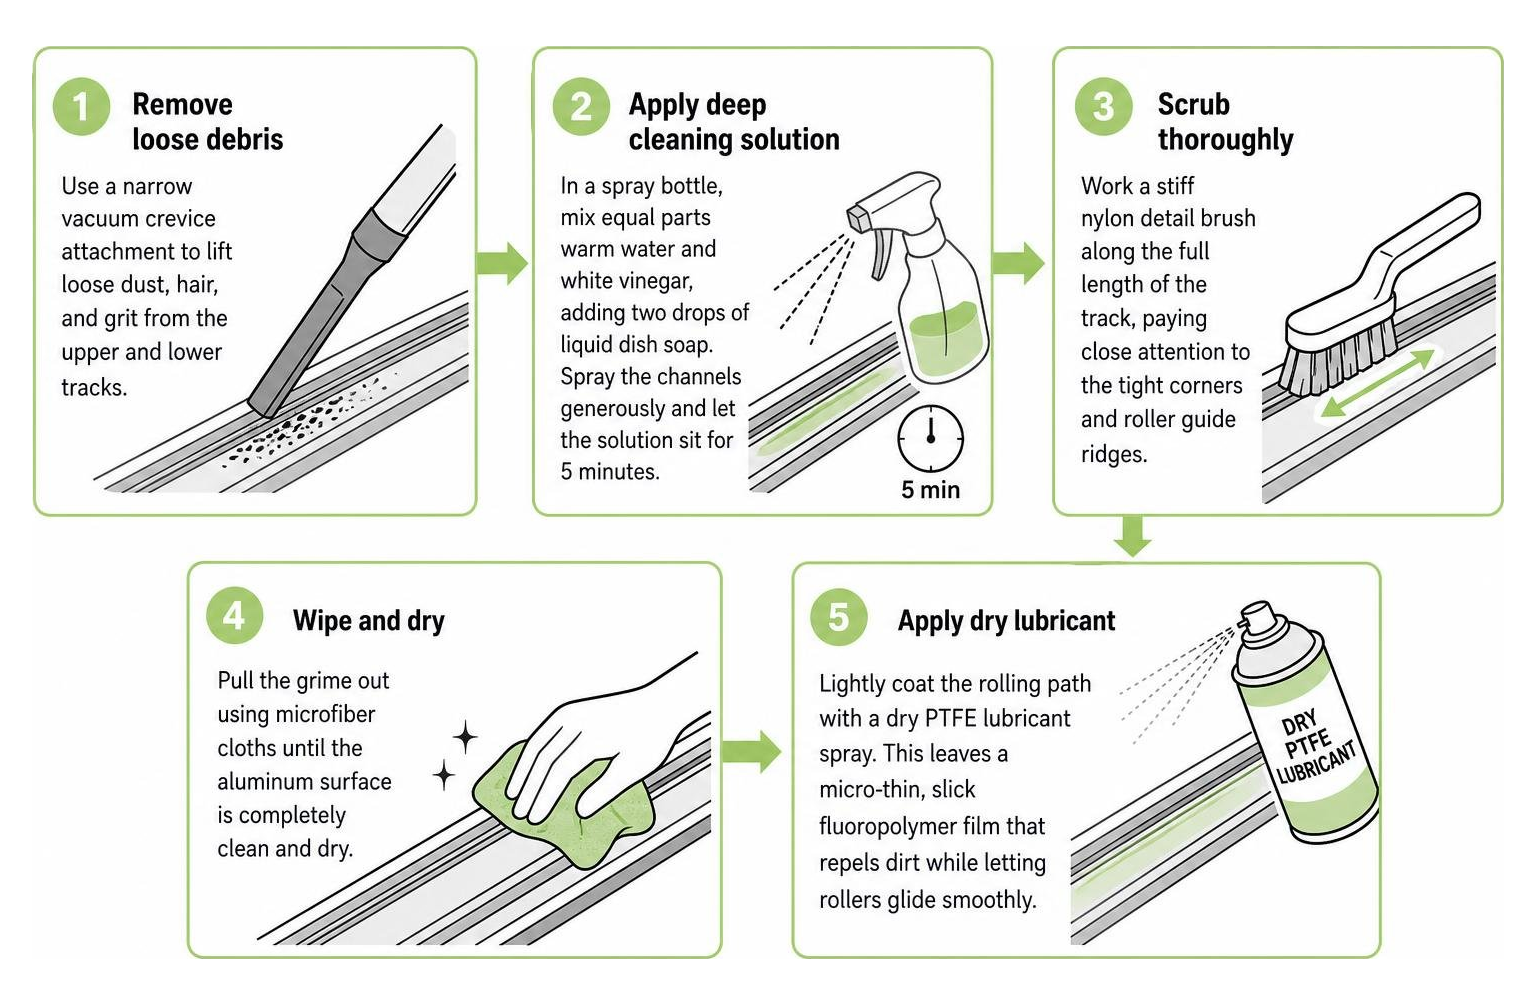
- Remove loose debris: Use a narrow vacuum crevice attachment to lift loose dust, hair, and grit from the upper and lower tracks.
- Apply deep cleaning solution: In a spray bottle, mix equal parts warm water and white vinegar, adding two drops of liquid dish soap. Spray the channels generously and let the solution sit for 5 minutes to break down hardened sludge.
- Scrub thoroughly: Work a stiff nylon detail brush along the full length of the track, paying close attention to the tight corners and roller guide ridges.
- Wipe and dry: Pull the grime out using microfiber cloths until the aluminum surface is completely clean and dry.
- Apply dry lubricant: Lightly coat the rolling path with a dry PTFE lubricant spray. This leaves a micro-thin, slick fluoropolymer film that repels dirt while letting rollers glide smoothly. For continued smooth operation, follow a preventative mirror door maintenance guide to keep your tracks in peak shape.
Realigning Wheels and Replacing Damaged Rollers
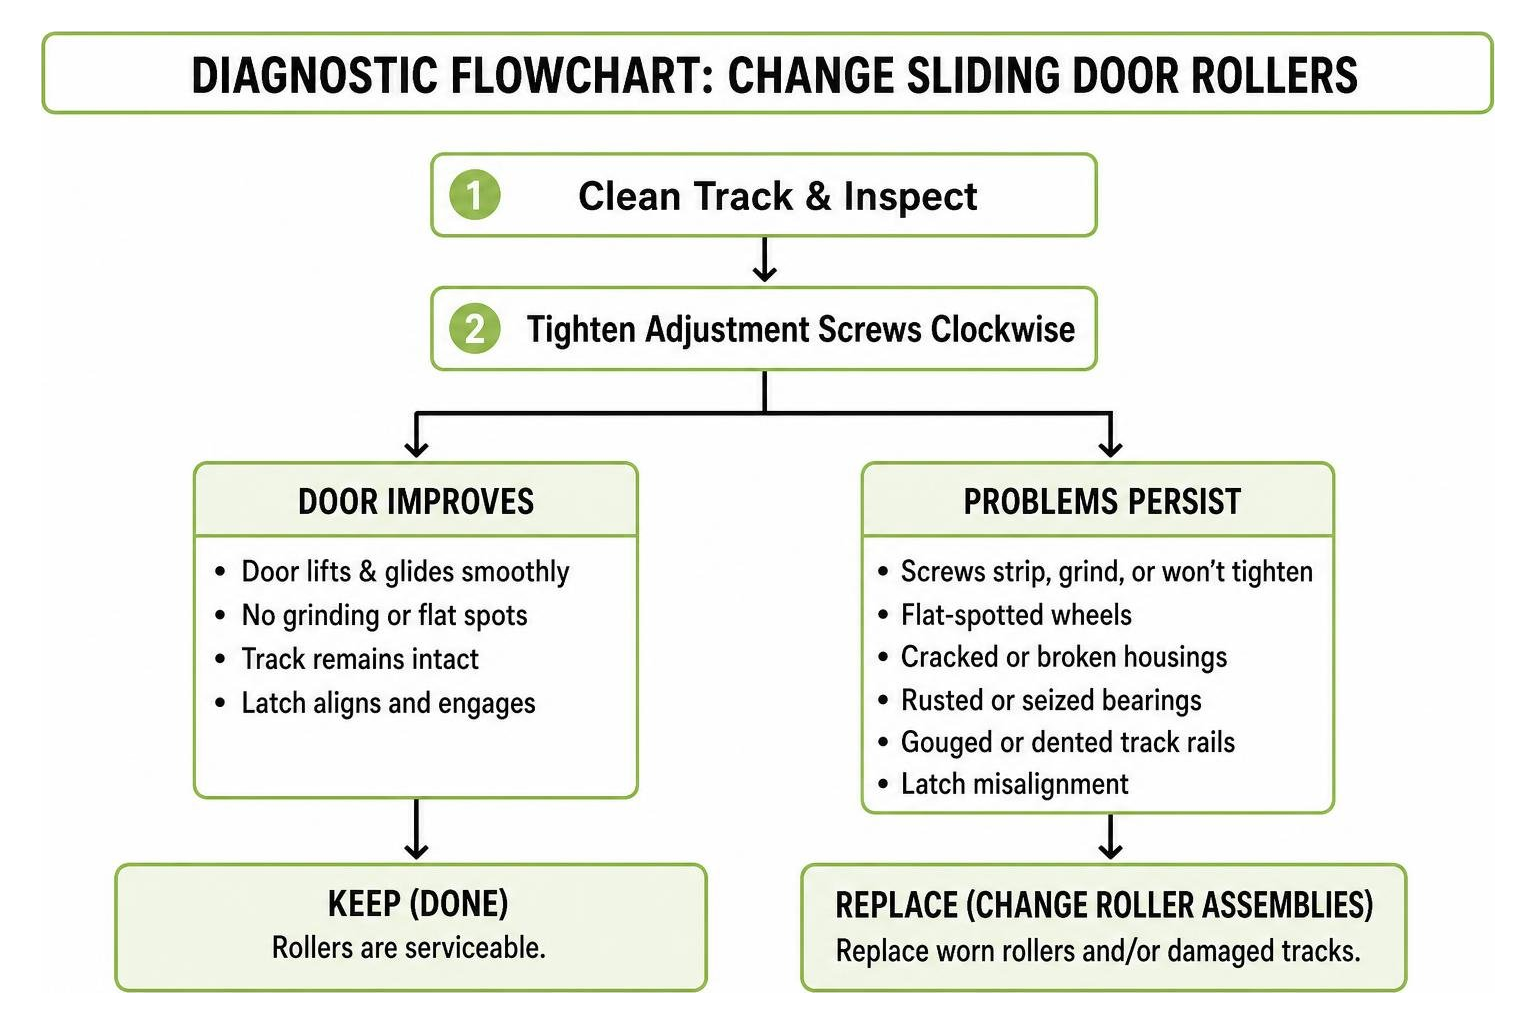
If cleaning alone does not restore effortless movement, you must adjust or replace the roller assemblies.
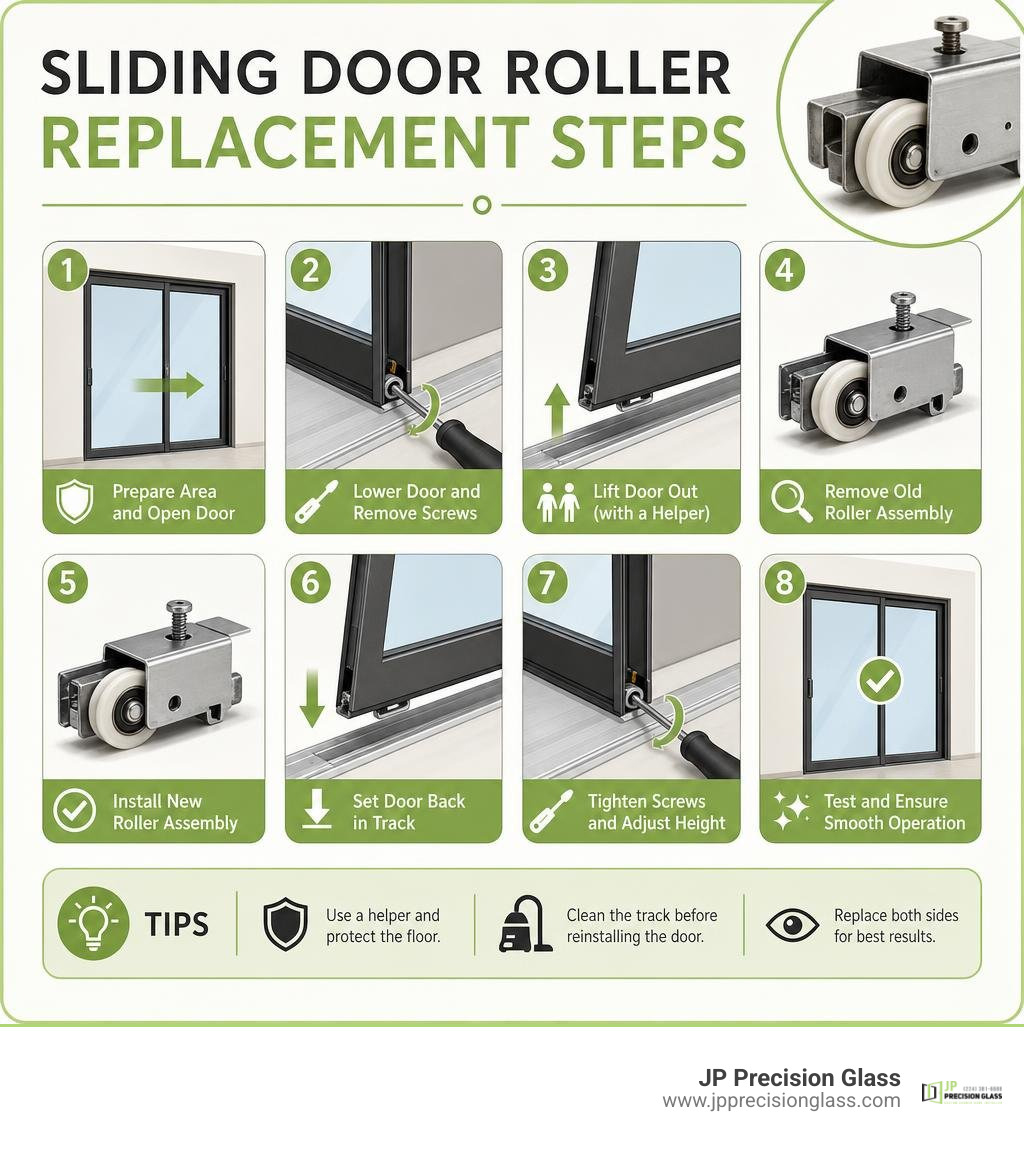
- Remove the door panel: Grip the mirror door firmly by its metal stiles. Lift the door straight up into the deep top track to clear the bottom wheels from the floor rail, then swing the bottom of the door toward you and lower the entire panel out. Place it face-down onto your padded blanket.
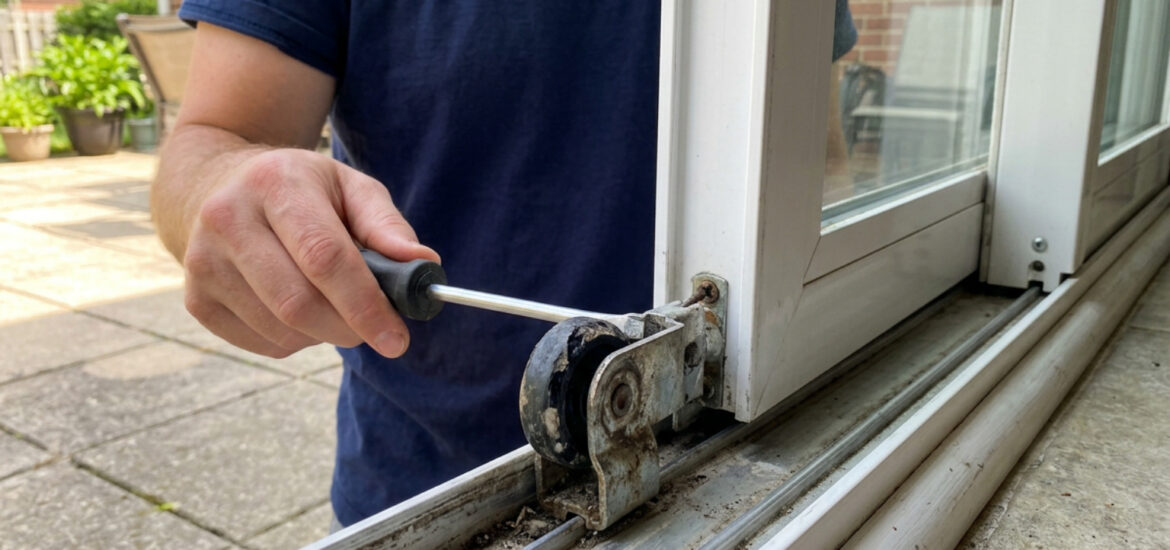
- Inspect the roller mechanisms: Look closely at the wheels. If they are flattened, cracked, or loose on their center rivets, remove the mounting screws and slide the old roller assemblies out of the bottom frame corners.
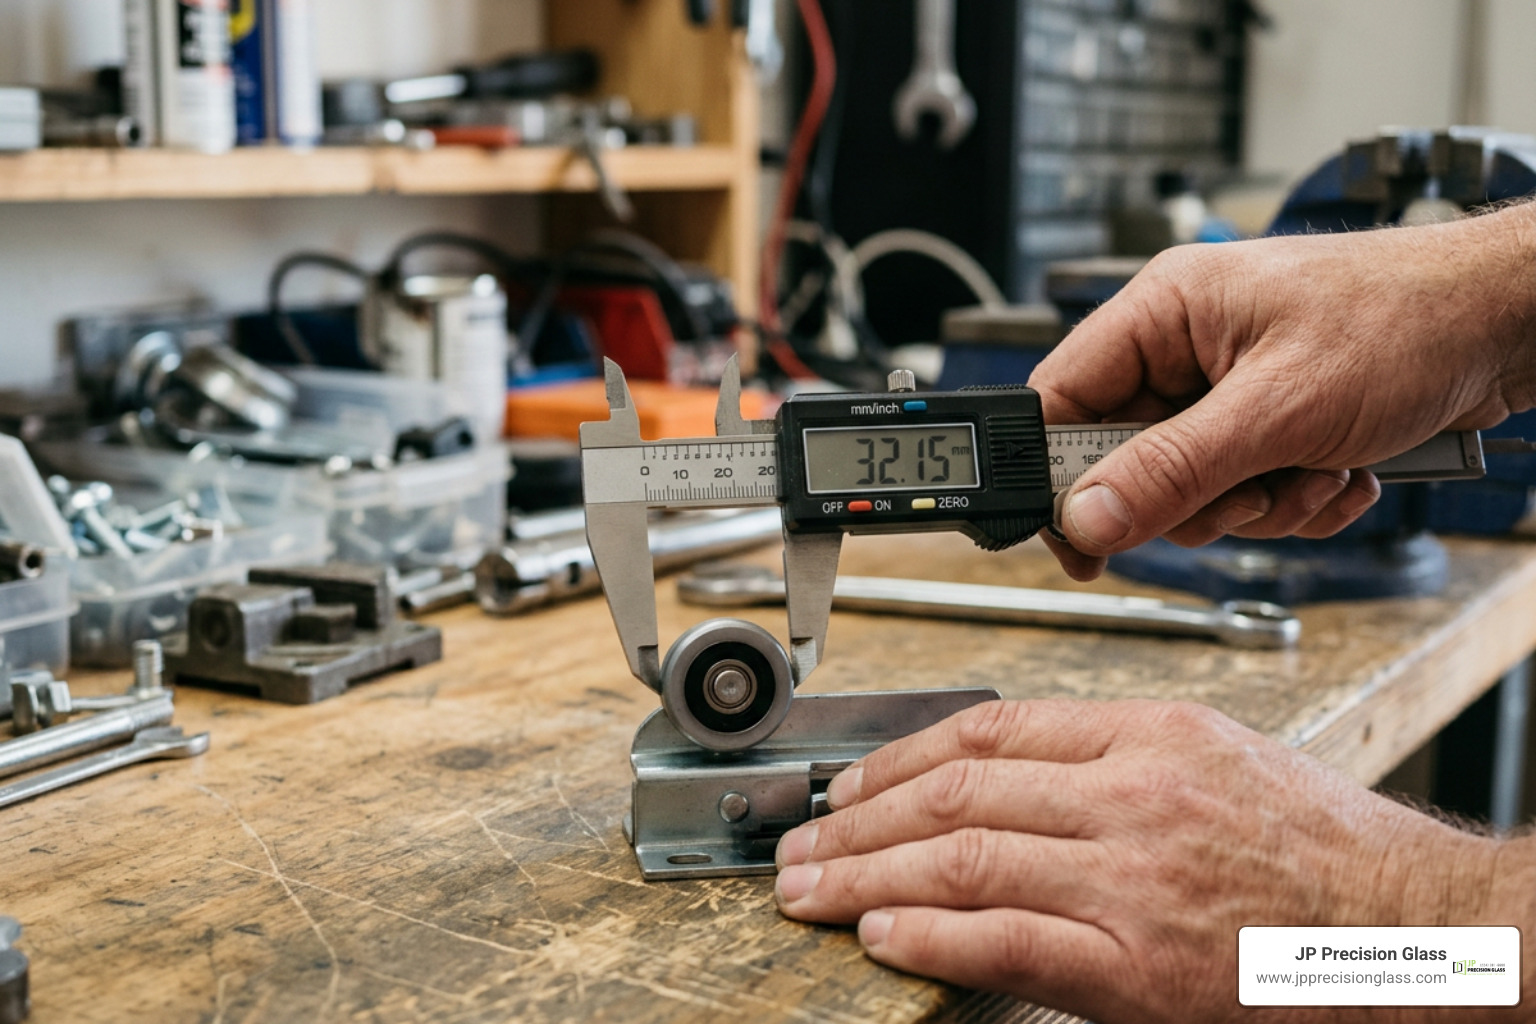
- Install new rollers: Match your replacement rollers to the original manufacturer profile. Slide the new units into the frame channels and secure them with the mounting screws.
- Rehang the door: Insert the top guides into the upper header channel first. Push upward against any internal guide springs, align the bottom wheels directly over the floor track rails, and gently lower the door into place.
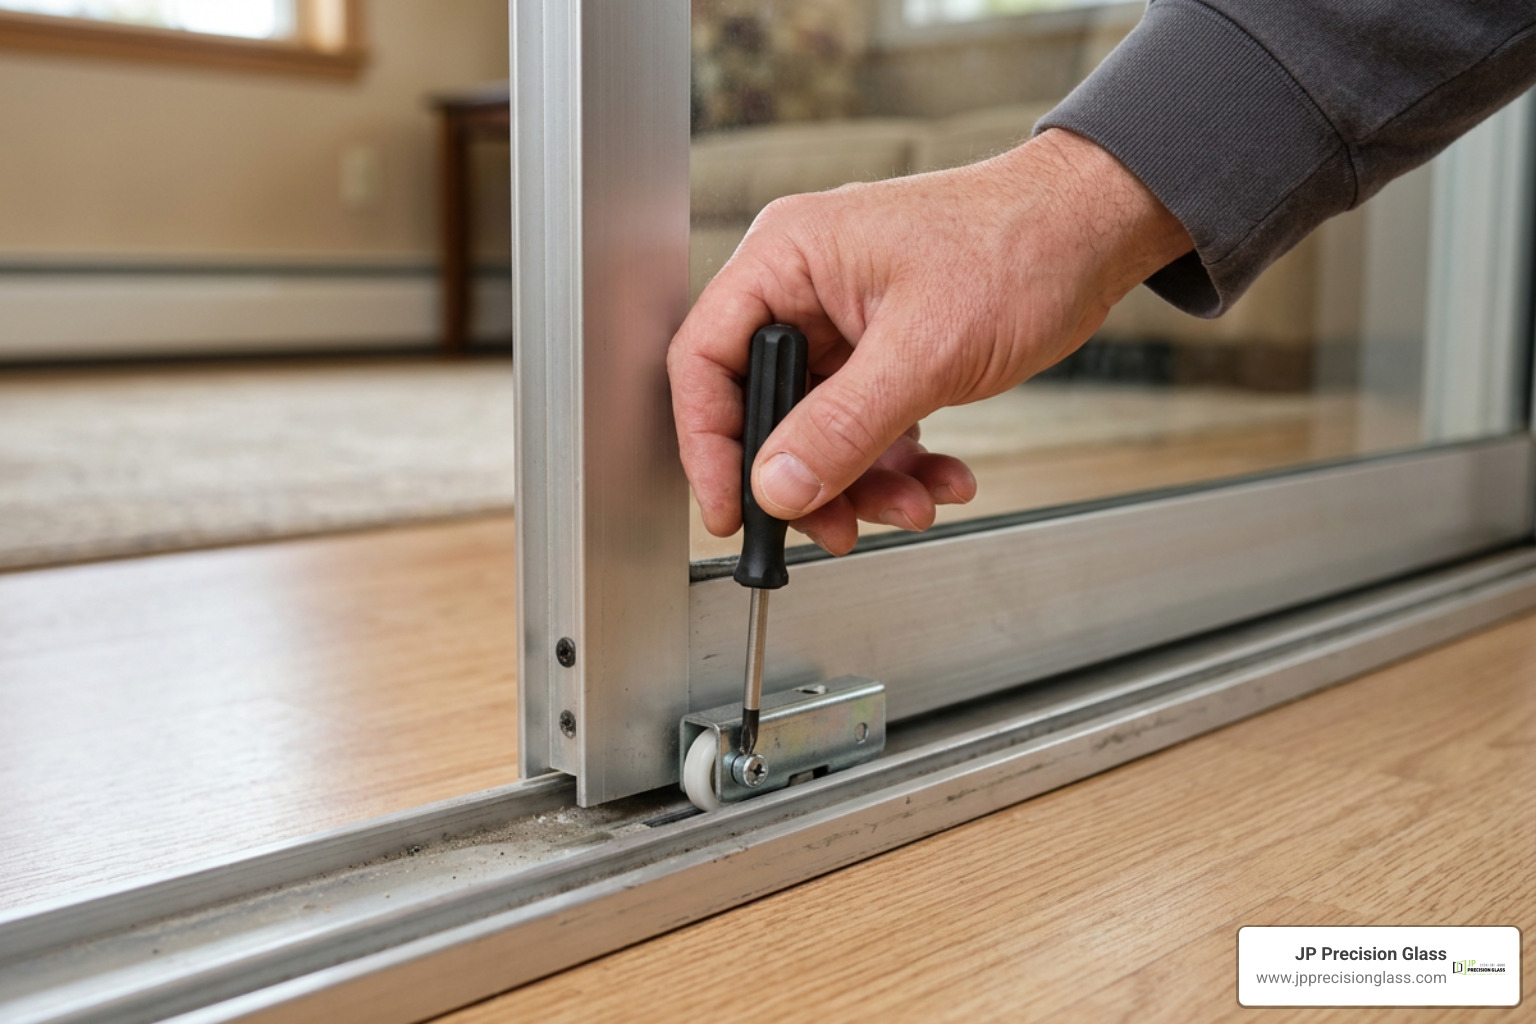
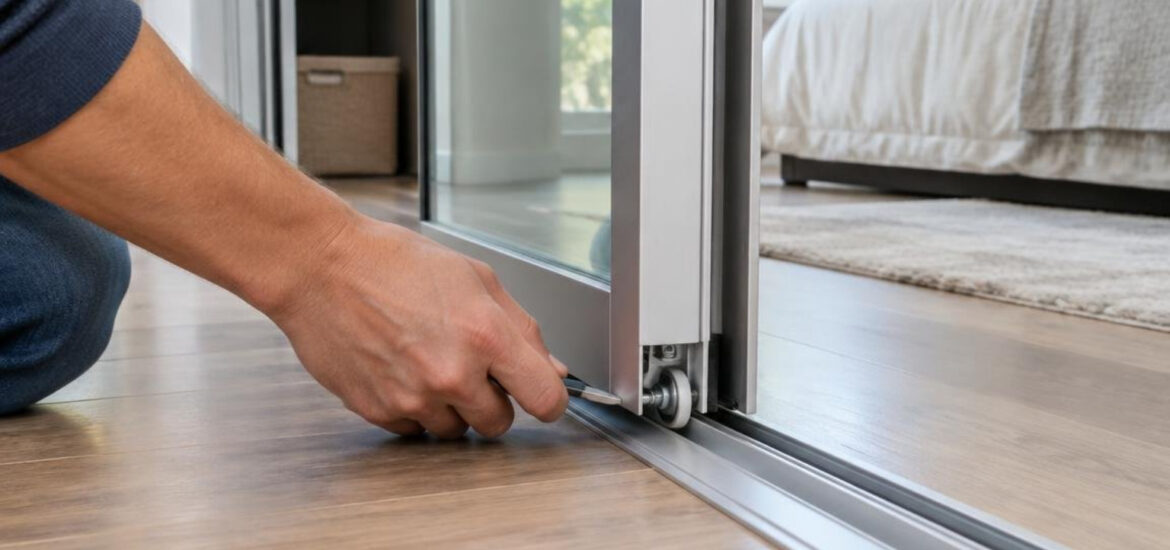
- Calibrate height and plumb: Locate the adjustment screw near each bottom wheel. Turn the screw clockwise to raise that side of the door, or counter-clockwise to lower it. Adjust both sides until the door hangs plumb, fits flush against the wall jamb, and moves with minimal effort.
Addressing Cracked Glass Panels, Detached Frames, and Replacements
Glass damage requires immediate attention. A shifting frame or an unaddressed crack compromises structural stability, turning a routine household fixture into a safety hazard.
Stabilizing Surface Cracks with Glass Resin
If your mirror has sustained a small, localized hairline surface crack (under 1 inch) rather than a complete through-and-through fracture, you can stabilize the glass using an optical-grade windshield resin repair kit.
- Clean the surface: Wipe away all surface contaminants with isopropyl alcohol and let the glass dry completely.
- Position the bridge injector: Center the applicator suction cup directly over the origin of the crack to seal the area.
- Inject low-viscosity resin: Drop the specialized optical resin into the chamber. Screw down the pressure plunger to force resin deep into the microscopic fissure, evacuating trapped air pockets.
- Cure under UV light: Place clear curing film over the repair and expose it to a UV curing lamp (or direct sunlight) for 15 to 30 minutes.
- Scrape flush: Carefully hold a fresh razor blade at a 45-degree angle to scrape away hardened surface resin without scratching the surrounding glass mirror.
Note: Resin stabilizes the glass and restores reflective clarity, but severe or edge-to-edge fractures cannot be safely repaired and require complete panel replacement.
Reattaching Detached Mirror Frames and Gaskets
When an aluminum stile separates from the mirror glass, do not force the frame back on with a hammer while the door is hanging. Instead, take the panel down and rebuild the edge connection:
- Disassemble the corner: Lay the door on your padded surface and unscrew the top and bottom corner fasteners on the detached side.
- Inspect and reseat the gasket: Pull the loose metal channel completely away. Straighten the flexible rubber U-channel gasket, wrapping it tightly and evenly along the bare edge of the mirror glass.
- Apply specialized adhesive: If the mirror backing is loose from a wood or composite substrate, use only pH-neutral mirror mastic. Standard construction adhesives contain harsh acids that eat away the silver reflective coating, causing ugly black spots (desilvering). Apply mastic in golf-ball-sized dabs rather than spreading it flat. Review safe methods to re-adhere mirror closet door panels to ensure a long-lasting, non-corrosive bond.
- Reassemble the frame: Press the aluminum stile back over the gasketed glass edge using steady, even hand pressure. Tap gently with a rubber mallet if necessary. Reinstall and tighten the corner assembly screws, then let the assembly cure undisturbed for a full 24 hours before rehanging.
Replacing Just the Mirror Panel vs. the Entire Door
Homeowners often wonder whether a broken mirror requires an entirely new door system or just a fresh sheet of glass.
| Repair Factor | Replacing Just Mirror Glass Panel | Replacing Entire Door System |
|---|---|---|
| Best Used For | Broken mirror with intact frame and tracks | Severely bent frames, crushed tracks, obsolete hardware |
| Safety Standard | Category II safety backing required | Factory-certified safety backing included |
| Hardware Reusability | Keeps original rollers, top guides, and stiles | Provides brand-new, modernized tracking and quiet rollers |
| Aesthetic Result | Preserves matching trim with other room closets | Upgrades room with modern finishes and contemporary styles |
| Structural Integrity | Relies on condition of existing metal frame | Brand-new structural frame under full warranty |
When to Choose Professional Glass Closet Door Repair
While routine track maintenance and wheel replacements are great DIY projects, certain situations demand professional equipment and expertise:
- Shattered safety glass: Handling broken glass sheets requires heavy suction lifters, safety containers, and disposal protocols.
- Large, heavy custom panels: Floor-to-ceiling mirrored doors are extremely heavy. Carrying and setting these panels without bending the frame requires multiple experienced technicians.
- Severely warped structural frames: If the aluminum frame is twisted, custom fabrication is necessary to ensure the new glass sits evenly without stress points.
- Complex hardware sourcing: Older or discontinued closet systems often feature obsolete track profiles that need custom retrofit solutions.
Most standard residential glass repairs can be diagnosed and resolved quickly in a single service visit.
Frequently Asked Questions About Sliding Mirror Closet Doors
Why does my sliding mirror closet door keep jumping off the track?
Doors typically jump their rails due to three main issues:
- The bottom roller height adjustment is set too low, leaving excessive slack at the top header guide.
- Hardened debris in the track acts as a ramp that forces the wheel up and out of its groove.
- The nylon wheel has developed a crack or flat spot that catches on the track lip during movement.
Can I use standard construction adhesive to glue my closet mirror?
No. Never use standard construction adhesive or general-purpose silicone on mirrors. These formulas contain acetic acid and solvents that react chemically with the silver and copper backing of the mirror. Within weeks or months, the backing will corrode, creating permanent black spots and causing the glass to separate from the substrate. Always use a dedicated, pH-neutral mirror mastic.
What are the main benefits of installing sliding mirror closet doors?
Sliding mirror closet doors combine functional wardrobe access with smart interior design. They reflect both natural and artificial light to make compact bedrooms feel nearly twice as large, double as full-length dressing mirrors without occupying extra wall space, and slide completely within the closet opening without swinging out into your floor space.
Restoring Function and Safety to Your Glass Doors
Maintaining your glass closet doors keeps your home functional, bright, and safe. With routine track cleaning, proper dry lubrication, and timely hardware adjustments, your sliding panels will glide quietly for years to come.
When your glass fixtures require precision work, custom sizing, or complete hardware replacements, working with experienced specialists makes all the difference. At JP Precision Glass, we bring that same dedication to accuracy, premium materials, and made-to-size craftsmanship to every home project. Discover how our expert glass shower door and specialty repair services can transform your living spaces with durable, elegant, and safe glass installations tailored perfectly to your home.